Want to have a hosting personal computer and download the script in a variety of personal computer without having to bother spending money to buy hosting? the solution is to use a software hosting. There are many local hosting software is one of XAMPP.
XAMPP is the most comprehensive software to provide web server, consisting of PHP XAMPP, Apache, and MYSQL, which three things above are the basic components for making the website the most widely used, PHP is a popular programming language often used in making websites, and Apache as the web server, and MySQL as a database to handle the transaction website.
Before using XAMPP, as usual when using the software must be installed first, the following process:
1. Dowload software of the member's area www.skripmurah.com + cracknya
2. After the download xampp, run the program xamp tsb.
Double-click or right click Run.
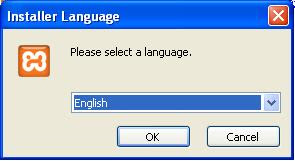
Klik Ok.
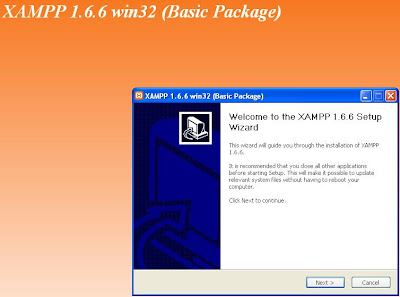
Klik Next.
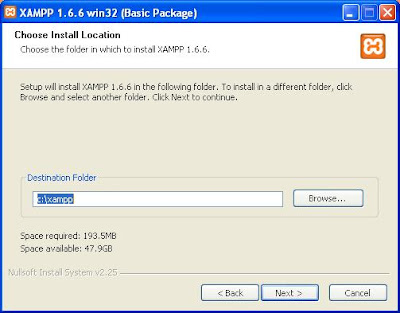
Klik Next.

Select Install Apache as service and Install MySQL as service, if the FileZilla FTP server to be installed as well as service selected, too. Then click Install
.
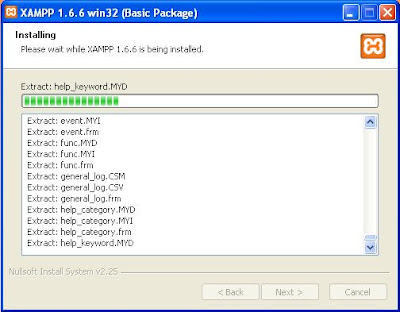
After the installation is complete, the following message appears:
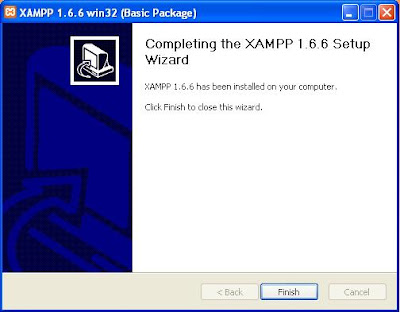
Klik Finish,
Klik Ok.
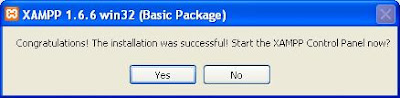
Click Yes, if you wanted to run the XAMPP Control Panel.
XAMPP 1.6.6 installation is completed.
Display XAMPP Control Panel.
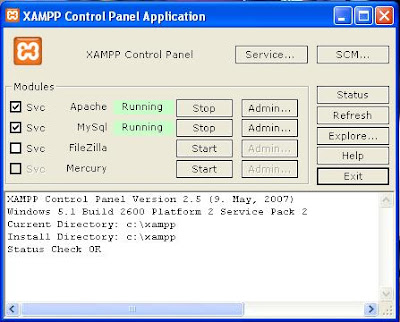
Settings on the control panel is simple enough. In this section there are sections Svc without check, it was a sign of the application service is not installed on the windows. In order for Service installed on Windows Services, click on the Svc.
To start / stop service live click on the Start / Stop.
If you want to do administration, click on the Admin button. is a web base for the Apache (web server), is mysql (database) and FileZilla (ftp server) and Mercury (SMTP mail server) based client software.
To enter the system files from xampp, click on the Explore button.
Following the administration web interface on Xampp.

If we want the control panel of xampp as a service in Windows, click on the Service button on the control panel of Xampp.

3. After the installation is complete, you can access the XAMPP control panel from the Start Menu> Programs> XAMPP XAMPP or via a shortcut on your computer desktop. Make sure the status of the Apache and MySQL already 'Running'. If the status of Apache and MySQL have not Running, click the Start button on the right of the Apache and MySQL.
4. For the initial tests, open your browser (Internet Explorer, Mozilla Firefox, Netscape Navigator, etc.), then type in the address bar http://localhost/. If Apache is running normally, the browser will respond to your request and will display the page containing congratulations that Apache already installed or in the form of writing 'It Works'. This test is to test and indicate Apache Apache can walk normally.
5. For testing the PHP module was able to walk integrated with your Apache, in the Address Bar type http://localhost/index.php. If the PHP module has worked well with Apache, the browser will display a table view with the title phpinfo () and the contents of the specification that you are using PHP. This PHP module you must first activate if you want to use PHP scripts on your website.
6.Open your moziila/interner exploler, write The Address Bar type http://localhost/phpmyadmin/. If the MySQL database server has been running well, the browser will display the PHPMyAdmin, MySQL control panel with a web-based interface. The first time, you will directly enter into the conrol panel PHPMyAdmin with root privileges. Root is the user with full access rights to the database (on Windows, this kind of access rights known as the administrator and the day-to-day known as the Admin). It is strongly recommended you secure access to PHPMyAdmin this by giving a password to access PHPMyAdmin, especially for the root user. Also recommended, does not give full access rights to users other than root or for other security reasons, you can give full access rights on the root level as any other user, but you must secure and treat it as the root user because the access rights he has. For other users, you can provide limited access rights to another user according to your policy as an administrator.
Just note also, MySQL initially only be accessed through the MySQL prompt on the console (in Windows known as the Command Prompt). For beginners who are less familiar with the operations console and the syntax of the SQL query that is used in MySQL, PHPMyAdmin will be very helpful. For any professional database administrators, PHPMyAdmin was also greatly assist their duties, especially in systems management processes, setting user permissions, database security settings, and so forth. Now, the MySQL prompt more frequently used in the maintenance and control of crash conditions and circumstances are very minimal (or impaired network is not available monitors and disturbed systems that prompt only be accessed remotely).
7. If you've finished installing XAMPP in C:, then $ PATH_INSTALASI \ xampp \ htdocs read into C: \ xampp \ htdocs. if you have a website script can be tested using this software, before the script is installed in the actual hosting. Do I make a new folder in C: \ xampp \ htdocs and give your name at will, for example mlm. Then Put your script in the file C: \ xampp \ htdocs \ mlm.
8. Follow the instructions for how to install the script, because each script how to install it differently.
9. If you've completed the install it, open your browser (Internet Explorer, Mozilla Firefox, Netscape Navigator, etc.), then type in the Address bar http://localhost/mlm
10. So Be your website. For editing your web site can use Dreamweafer or frontpage.
NB: If you request data Script Database then use database below. List of User and Password in XAMPP: The following list of user and password on xampp
1) For the MySQL database:
Database User: root
Password: (without the password blank alias ^_^!)
2) FileZilla FTP:
User for a client who has 2 pieces created by default
User: newuser
Password: wampp
and
User: anonymous
Password: some@mail.net
3) Mercury (Mail & POP3 Server):
3 users have the default is:
Postmaster: postmaster (postmaster @ localhost)
Administrator: Admin (admin @ localhost)
and
Testuser: newuser
Password: wampp
Hopefully the above explanation can add to your knowledge a bit. To get the script examples can be obtained at the member's area
www.skripmurah.com
BY. Bagus
 Want to have a hosting personal computer and download the script in a variety of personal computer without having to bother spending money to buy hosting? the solution is to use a software hosting. There are many local hosting software is one of XAMPP.

Post a Comment